Configuring EventReporter#
This page explains how the EventReporter Configuration Client is organized and how its tree structure maps to the running EventReporter service.
The EventReporter service runs in the background after configuration. The Configuration Client is the administrative interface you use to define that configuration.
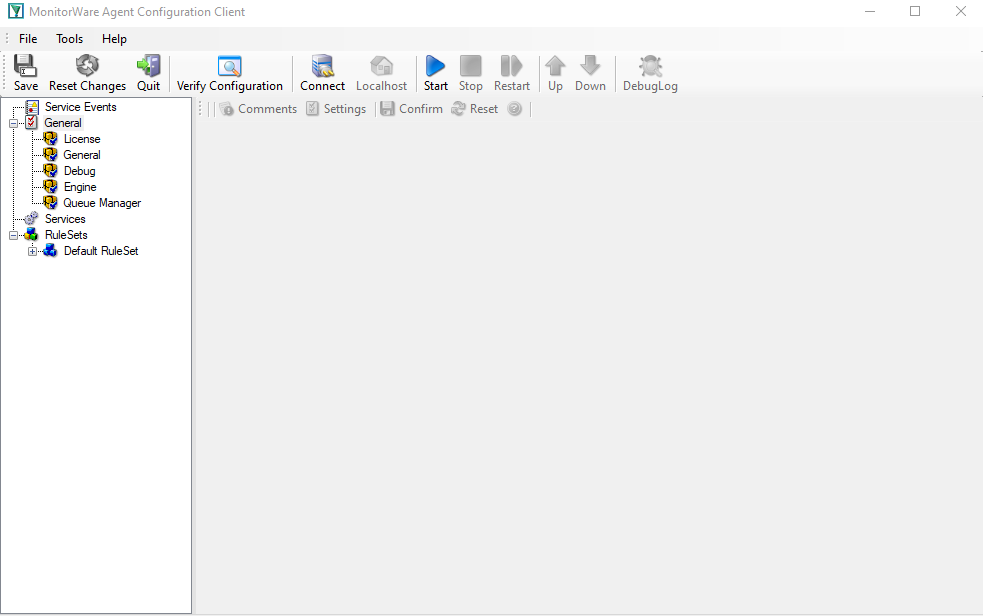
The tree structure#
The Configuration Client is organized around three main areas:
General for global options and defaults
Services for the active event collection services
RuleSets for filtering and actions
How configuration changes take effect#
Configuration changes are made in the Configuration Client and then applied so that the EventReporter service can use them. Until you apply or save the changes, the running service continues using the previously active configuration.
Defaults versus instances#
Defaults under General are templates. They do not collect, filter, or forward anything by themselves. They only provide default values for new service and action instances.
Services#
Each configured service instance appears under Services. For EventReporter, this usually means one or more Event Log Monitor instances that collect Windows Event Log data and bind that data to a ruleset.
Rulesets, rules, filters, and actions#
Each service sends its collected events to the ruleset configured for that service. Within the ruleset:
rules are evaluated from top to bottom
filter conditions decide whether a rule matches
actions define what happens when the rule matches
The following sections describe the detailed properties of each element.